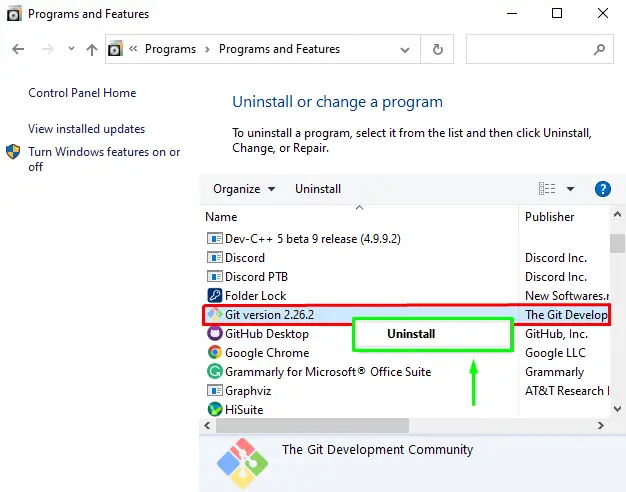
To uninstall or remove git on Windows 11; Just open the Windows search bar, type the control panel and click on uninstall programs, after that find git on the programs list and right click on git, and select to uninstall option.
How to Uninstall git on Windows 11 OR 10
In just 5 steps, you can completely remove Git from Windows 11 or 10 system, follow the steps:
Step 1 – Type the control panel in the Windows Search Bar
Now, open your windows search bar and type control panel, and click on the control panel, you looks like the picture:

Step 2 – Navigate to Uninstall Programs
To click on programs and uninstall, you look like in below picture:

Step 3 – Select the Git
Now, find git on programs and select to uninstall it from windows system, See the below picture:

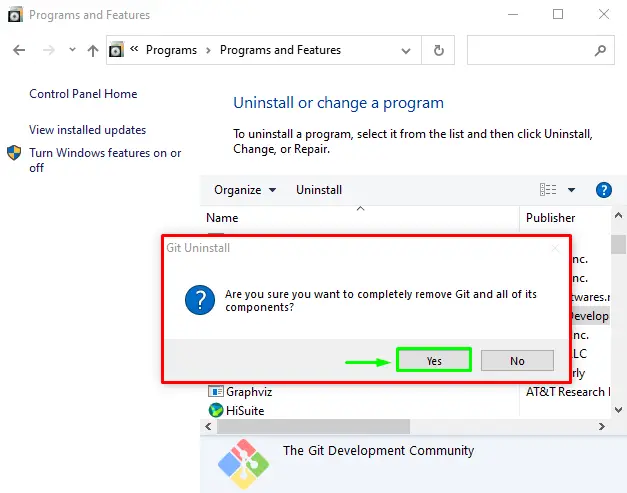
Step 4 – Click Yes On the Git prompt box
Now, an automatically prompt box will appears with the question “are you sure want to completely remove git and all its components”, Click on uninstall git, Looks like the following picture

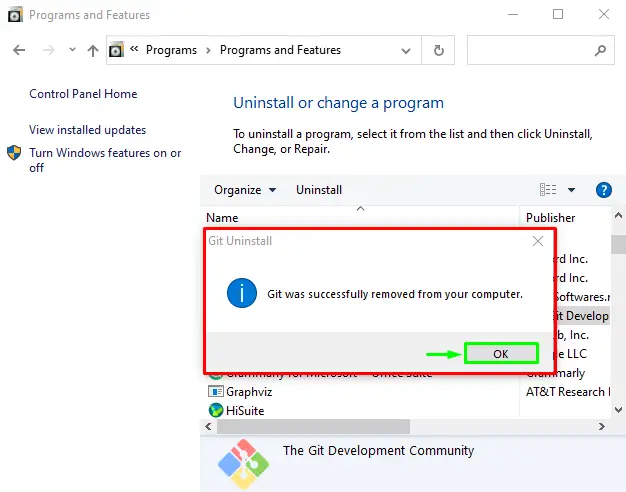
Step 5 – Wait to Completely Uninstalling Git from Windows
Wait for a few seconds to completely remove git from Windows 11 | 10, Once it is done, you will see a success message prompt on Windows, Look like in the following picture:

Conclusion
That’s it; you have learned how to completely uninstall or remove git from windows 11|10 system.